Creating an Accessible Home on a Budget: Practical Changes That Make a Difference
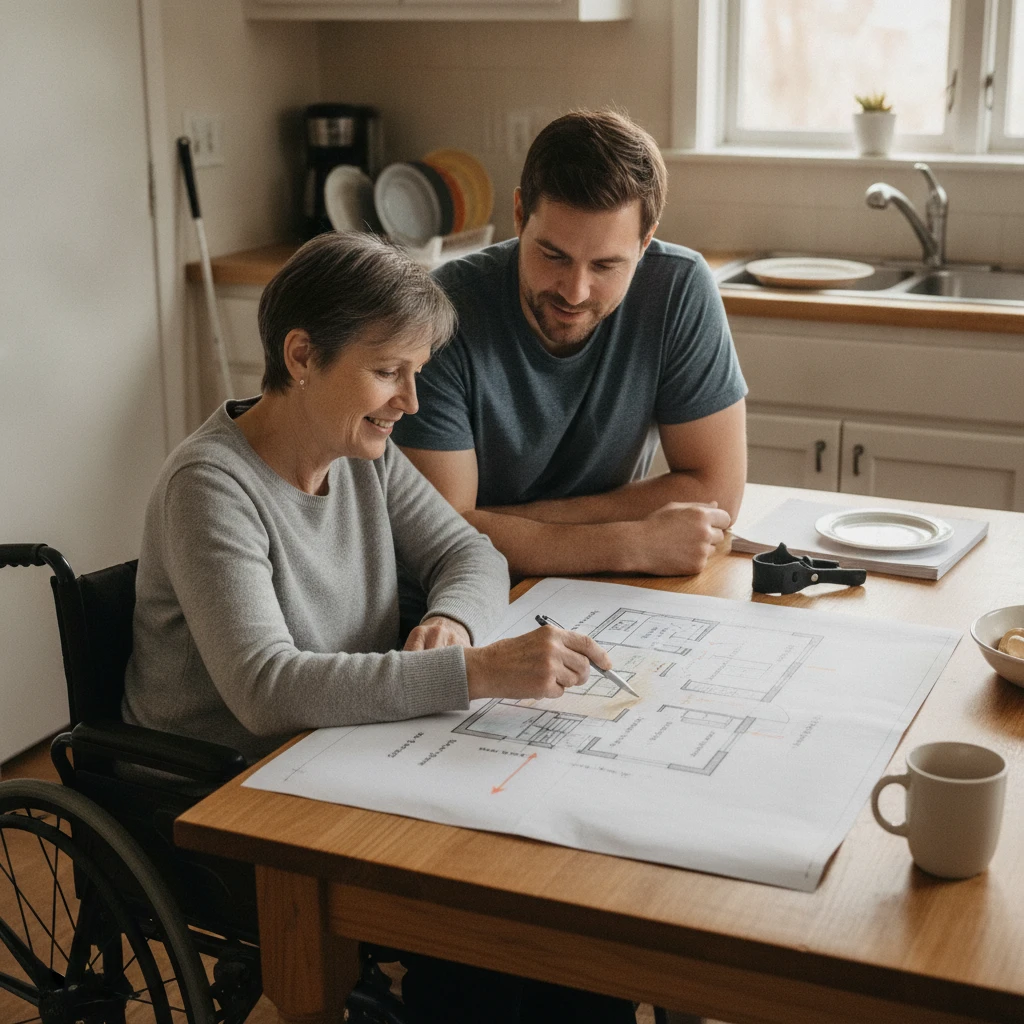
Creating an accessible home on a budget starts with the person who lives there: their routines, choices, and priorities. Home accessibility does not require a complete renovation. Small changes to clear pathways, lighting, storage, or daily-use equipment can make particular tasks easier, though what helps one person may not suit another.
Think of the work as removing specific barriers rather than trying to make a home meet an abstract standard. A disabled-led plan keeps the person in control and helps direct limited money toward changes that matter in everyday life.
Start with the person’s access needs and daily routines
Start by asking the disabled person which parts of home life are difficult or tiring, then identify barriers room by room. Their priorities should guide the plan because access needs differ with a person’s preferences, body, equipment, and living situation.
Walk through a typical day together, if the person wants to. Consider getting in and out of the home, reaching the bathroom at night, preparing food, transferring between a wheelchair and a seat, or managing medication. A barrier may be physical, such as a step, or practical, such as a frequently used item stored too high.
Make a short list and rank each item by impact, frequency, and urgency. For example, a difficult front entrance used several times a day may take priority over a rarely used cupboard. Ask what a successful change would look like: less effort, greater privacy, more independence, or a safer transfer. Avoid assuming that a family member’s idea of convenience matches the disabled person’s goals.
An occupational therapist (OT) can assess how a person interacts with their home and suggest options. Access to an OT may depend on location, health service eligibility, or cost, so the person’s own experience remains essential even when professional advice is not available.
Prioritize low-cost changes with immediate impact
The cheapest ways to improve home accessibility are often simple adjustments: clear pathways, better lighting, and placing frequently used items within comfortable reach. These changes can reduce avoidable effort without construction, although they will not solve every access barrier.
Begin with the routes the person uses most. Move loose cables, baskets, and small furniture out of the way; secure or remove rugs if they create a trip or wheel obstruction; and keep commonly used mobility equipment close to where it is needed. A clear route should reflect the person’s actual mobility device and turning needs, rather than a guessed measurement.
- Improve lighting: Add or reposition lamps, use brighter bulbs where appropriate, and consider easy-to-reach switches or plug-in lights for nighttime routes.
- Rearrange storage: Place daily essentials between comfortable reach heights. A tray or open shelf may be easier to use than a deep cupboard.
- Reduce repeated effort: Keep a second set of frequently used supplies on another floor, if practical, or group items used for one task together.
- Make controls easier to reach: Check whether switches, chargers, and door hardware can be accessed from the person’s usual position.
Try one adjustment at a time and ask whether it actually helps. A rearranged kitchen can save steps for one person but disrupt a familiar routine for another. Low cost does not automatically mean low effort or high value.
Make key areas safer and easier to use
Focus on the entrance, bathroom, kitchen, and main travel routes that create the greatest daily barriers. Affordable adaptations can help, but step-free access, grab bars, and non-slip flooring must be selected for the individual and installed appropriately.
At the entrance, check whether a threshold, loose mat, or heavy door makes entry difficult. A portable threshold ramp may help in some settings, but it must fit the height, doorway, and mobility device, and it needs a stable surface. Where a step prevents access, a ramp or other permanent change may require professional assessment, permission, and a larger budget.
In the bathroom, consider whether the person can reach towels, toiletries, and controls without twisting or stretching. Non-slip flooring or a properly secured bath or shower aid may reduce some risks, but no surface or product is safe for every user. Grab bars can support balance or transfers when positioned for the person’s movement and anchored to suitable structure. Suction-cup bars are not a substitute for a securely installed support bar.
In the kitchen, keep daily-use dishes and ingredients reachable, and make a clear work area that suits the person’s seated or standing height. In hallways and between rooms, look at doorway clearance, turning space, and flooring transitions. A wider doorway may be important for some wheelchair users, but it is not a universal first step; measure the actual device and consult a qualified professional before altering a wall or doorframe.
For general planning, the U.S. Access Board’s accessibility guidance explains built-environment requirements, though formal standards may not apply to every private home or location. Local building rules still matter for structural changes.
Choose equipment and modifications carefully
Choose adaptive equipment and home modifications by checking fit, function, installation, and the person’s preference before buying. A product that looks helpful online may be uncomfortable, hard to operate, or unsuitable for the home.
Write down what the equipment needs to do, then check its dimensions and how it will be used. For a shower seat, for example, consider the available space, transfer method, weight rating, stability, and whether the person can reach controls while seated. For a ramp, check the rise, available length, surface, and turning room rather than relying on a product photo.
- Whenever possible, try equipment through a local loan closet, disability organization, or supplier with a clear returns policy.
- Check whether installation requires a qualified tradesperson, landlord approval, or a building permit.
- Review product instructions and weight limits; do not use an item for a purpose the manufacturer does not specify.
- Ask an OT, physical therapist, or other relevant clinician about transfer and positioning concerns when available.
Professional input is especially useful when a change affects a transfer, load-bearing structure, electrical system, or fall risk. It may add time or cost, but can prevent an unsuitable purchase or unsafe installation. The person using the equipment should have the final say wherever possible.
Explore funding and community support
Possible help with home modifications includes local grants, public programs, disability organizations, veterans’ services, and community equipment schemes. Availability, rules, and eligibility vary by location, so treat each option as a lead to investigate rather than a guaranteed source of funding.
Start with a local disability resource center, independent living center, social services office, housing agency, or occupational therapy service. Ask specifically about home modification grants, low-cost assessments, equipment lending, and approved contractors. Some programs fund only particular changes or require an assessment before work begins. Contact them before paying for modifications, since reimbursement may not be available.
Renters can ask a landlord about changes in writing and check local tenancy and disability laws. Rules differ by jurisdiction, and permission may be needed for alterations such as grab-bar installation or ramp construction. Removable equipment, furniture rearrangement, and some non-permanent adaptations may be easier to consider, but still need to suit the person and the property.
Keep a basic record of the barrier, the proposed change, estimates, and any professional recommendations. This makes it easier to explain the request to a funding program or landlord without promising that a particular application will succeed.
Plan changes in stages and review what works
Plan home accessibility improvements in stages: address the most important daily barrier first, test the change, then decide what to do next. A staged approach keeps spending manageable and lets the disabled person adjust the plan as needs or circumstances change.
After a change, ask practical questions: Is the route easier to use? Does the person feel comfortable with the equipment? Has the adjustment created a new obstacle for anyone else? Keep, adapt, or remove it based on the answer. Access needs can change over time, so revisit the plan after a new mobility aid, injury, move, or change in daily routine.
Avoid spending the whole budget on a single visible renovation before checking smaller barriers. At the same time, do not postpone an essential change simply because a low-cost alternative exists on paper. The right sequence depends on the person’s priorities, risks, housing situation, and available support.
Frequently asked questions
What are the cheapest ways to improve home accessibility? Clear frequently used paths, improve lighting, move everyday items within reach, and reduce clutter around entrances and work areas. These steps cost little, but may not address structural barriers.
Which home modifications should I prioritize first? Start with barriers that affect essential, frequent activities or create a concern identified by the disabled person. Consider the entrance, bathroom, and main routes, then rank each change by impact and feasibility.
Can renters make accessibility changes? Often, renters can request reasonable changes, but laws and approval requirements vary by location. Get written permission before permanent work and check local housing and disability guidance.
Where can I look for help paying for home modifications? Contact local disability organizations, independent living centers, housing agencies, social services, and relevant public programs. Ask about grants, equipment loans, and assessment services, then verify eligibility and application requirements directly.